

There is something really really awesome about baking your own bread at home and that is why I am too much into baking bread. I wanted to post a bread recipe from the day I have started my blog but somehow I didn’t have a picture of white bread. I always bake whole wheat bread at home. Once I posted my wholewheat bread recipe in one of the Facebook groups and got an awesome response. People tried it and were so happy with the results. I got many requests for a white bread recipe. So finally I am here with my first bread post. And yes, I am baking bread after 6 months. The last bread I baked was in August 2015. So thought of starting with my simple and easy white bread.
This is a basic bread recipe and absolutely a no-fail one. I keep reading a lot about baking and it helps a lot every time I bake bread. I don’t know whose recipe I follow but this recipe is there in my diary for more than 2 years. May be adapted from Martha Stewart’s recipe as I read almost all her recipes when I started baking. A lot of points and tips I used to note down in my diary. The original recipe noted in my diary is for two loaves so I half the recipe. I have made this a lot of times so the ingredients have been altered as per my taste.
Two things to keep in your mind before baking breads.
** LOVE & PATIENCE **
* Love it and it will love u back 💕
* Bread baking takes a lot of time say 3 to 4 hours. But you gotta work just for some 15 or 20 minutes (which is not a big deal) and you will see the magic happening on its own 🙂
Ingredients:
3 Cups All-purpose flour/Maida
1 Tbsp unsalted butter (softened)
3/4 Cup warm milk
1/4 cup warm water
1 Tsp Instant yeast
1 Tsp Salt
1 Tbsp Sugar
Method:
Mix sugar in 1/4 cup of warm water. Add yeast to it, stir and let it sit for 10 minutes. The mixture will turn frothy and its good to go. If not, discard it and make a new yeast mixture.
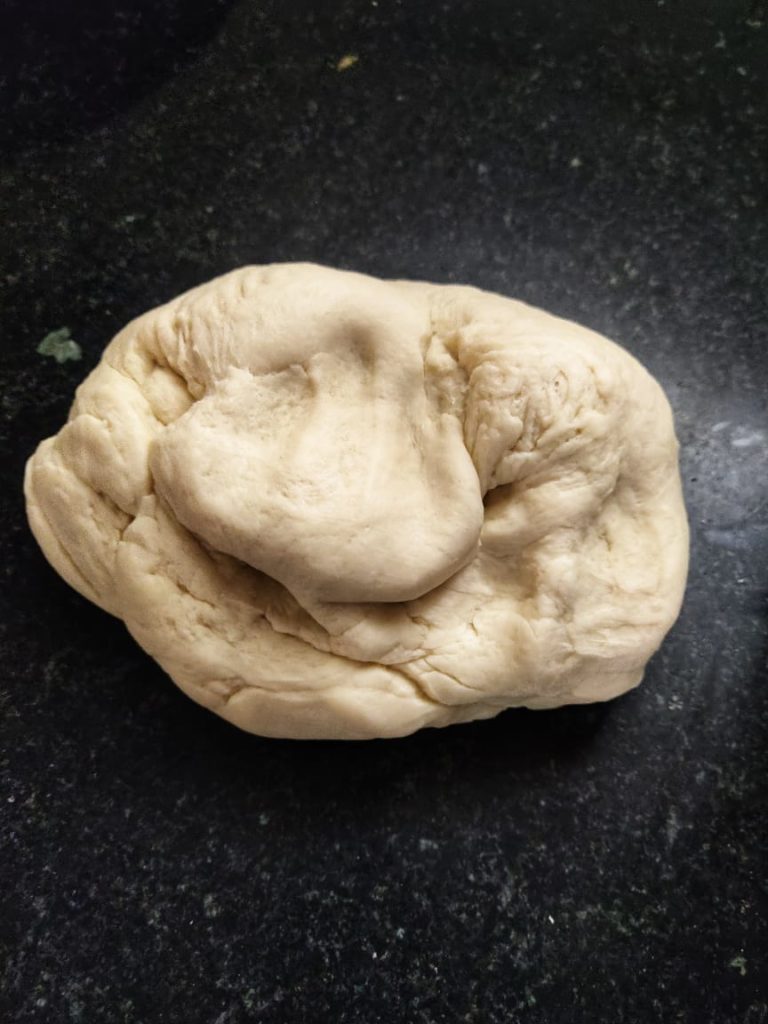
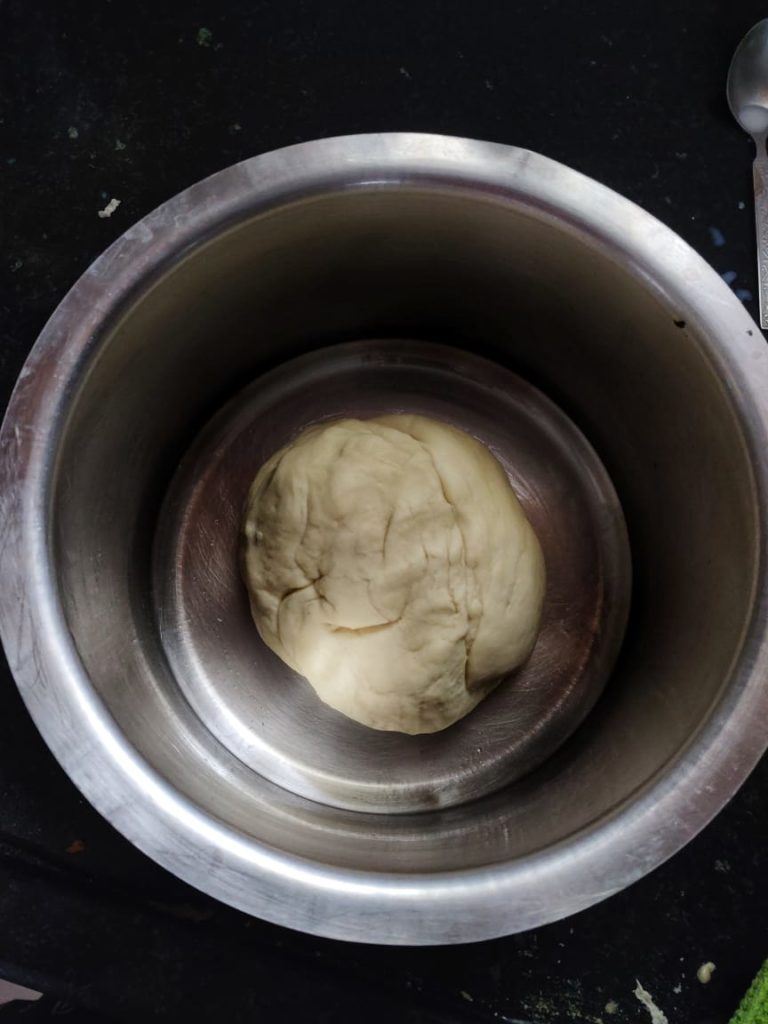
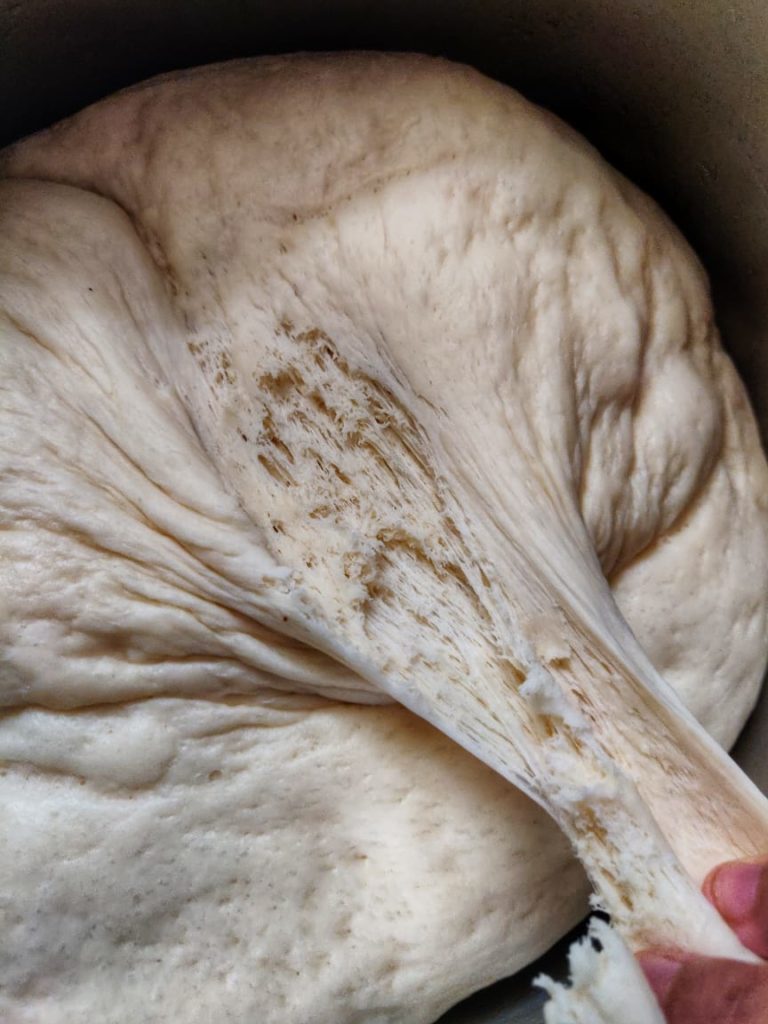
In a mixing bowl, sieve maida and salt together. Add butter and yeast mixture. Mix together everything using a spatula. Slowly start adding warm milk to it and make a dough. The dough will not be very sticky. Knead the dough for good 10 minutes with your hands very nicely till you get a soft and pliable dough. Once the dough is ready, cover it with a damp warm wet cloth (I keep the wet cloth in the oven, heat it for 30 seconds and cover) and keep it in a warm place to ferment. Let the bread rise for 1 hour. You will the dough has doubled after an hour.
Now deflate the dough using ur hands and knead very gently again for 2-3 minutes. Once done transfer the dough to a bread baking pan and cover it (This time I cover the pan with a very very big patila as the dough will rise again). Let the dough sit like that for 45 minutes. Once the dough has risen, bake it in a preheated oven for 40 minutes at 180 degrees. Once out of the oven, apply butter or oil all over the bread. Your own homemade white bread is ready.


Notes:
* Always pray before you start baking a bread 😀
* I use instant dry yeast, which can be directly added to the flour but I generally add it to the warm water and than use it.
* I heat the water in the oven for 15 seconds.
* I use Nature Harvest yeast which has never disappointed me.
* Don’t use oil, instead of butter. I use Amul unsalted butter which is at room temperature. No need to melt the butter, just add it directly to the flour.
* You might need to increase the milk quantity to 1 cup in case the dough is too dry.
* I like to use 1/4 cup of water as the texture turns out very nice. You can use half milk half water or only Milk.
* The 1st rise of the dough is important. Give at least an hour or more if needed for the dough to double but not more than 2 hours. Mine generally doubles in an hour.
* Let the dough rest for just 45 minutes during the 2nd rise. NOT MORE THAN 45 MINUTES.
* Don’t use a wet cloth to cover the dough for 2nd rise as the dough will stick to the cloth and might deflate when you take out the cloth. Use a big patila (used for boiling milk) for 2nd rise.
* All the ovens are different so temperature may vary. Please keep an eye on ur bread when you bake it.
* In case the top starts to turn brown too early, cover with an aluminum foil and then bake.
Please do share a picture if you try this out. You can connect with me on Facebook or Instagram.
Reblogged this on MAXIMUSOPTIMUSDOMINUS.
Hi !! do you have a recipe for bread without Maida !!! tia 🙂
Hi Sakshi, Thank You for stopping by… will update one very soon.. You can follow my blog via email or can check facebook page PicUrFood for regular updates 🙂
Couldn’t agree more! Baking bread is very satisfying! This looks gorgeous!
Which maida do you use?
Hi Payal, depends in the availability. No specific brand 🙂
Hi Monica,I’m confused between active dried yeast n instant yeast……can you help me with which one to use n how to use?Thanks a lot…..
Hi Rajashree.. Instant yeast can be added directly to the flour.. it doesn’t need any proofing.. however, active dry yeast needs proofing.. don’t worry if you don’t have any idea about the yeast type.. just proof whichever yeast you have before adding it to the dough.. Proofing means add the yeast to warm water along with sugar.. stir and leave for 10 minutes. The mixture will become frothy, means its good to use and thn you can add it to the flour and make a dough.
Feel free to contact in case of any other query. You can also inbox me on my Facebook page ‘PicUrFood’.
Hahaha.. well dont worry.. happens sometimes 🙂 Doesn’t matter what type of yeast you have. Use the yeast only after proofing from next time. Yeast is the most important ingredient in baking breads. After that kneading. Knead very nicely for 10 minutes.
I have a wheat bread recipe too which normally I bake at home. Will share it very soon 🙂 my personal suggestion is to try making maida breads before trying wheat breads.. because if not made properly, wholewheat bread turns out very dense and you will not like it.
Yes Yes I am doing the same.. I am also making pavs todays following the same recipe 🙂
Cool,that means,I can make pav also out of same recipe?
Yes You can..
Hi Monika….tried the white bread recipe yesterday and must admit it came really nice,especially the notes you have made were very handy..thanks a ton:-))can u post the wholewheat bread recipe too..next on the list:-)))
Hi monika tired ur bread recipe came out superb still waiting for the Wheat bread recipe want to try ASAP.
Hey Vaishali, Thanks you so much for such nice feedback 🙂 Next time, do share a pic as well 🙂
And the recipe for wholewheat bread has been updated.. Here is the link for you 🙂
https://picurfood.wordpress.com/2016/03/14/100-wholewheat-bread/
Hi soumya.. Thanks 🙂
Dont cling wrap it.. just keep the dough in the tin and keep it inside the oven (switched off) to rise.. No need to cover it with anything.. Just make sure to take it out as gently as possible.. Bread will deflate if it gets tapped after 2nd rise..
Dear Monika,
I tried this recipe today, the sought failed to rise the first time . Can you state what could be the possible reasons?
* The yeast was frothy
* The dough was very soft, I was so positive when I had finished kneading 🙁 !
* I did window pane test too ! 🙁 🙁
Prashanti
Hello Prashanti,
Please excuse me for the delay in reply.
Temperature plays an important role in the 1st rise. You need to keep the prepared dough in a warm place. I keep it inside my oven covering with a wet warm cloth.
Hope this helps.
I never knew bread-making was so easy? I am trying this for sure…..
Hi Monika, thanks for all your tips. I had tried whole wheat recipe few days back, the texture was very dense. The whole-wheat breads in the market usually have maida in them, is that the reason 100% whole wheat bread baked at home doesn’t come out as fluffy? Also seems your new recipe link is not working.
Hi Astha,
Yes wholewheat flour breads are a lot dense than maida breads. Yes market ones have maida and highly processed thats why they are so soft. I already have a recipe of wholewheat flour bread recipe on my website (attaching the link).
https://monikablends.in/100-wholewheat-bread/
Which recipe link is not working? Please let me know.
The link’s working fine now, thanks for your comment. I read through your w/w bread post carefully and guess would have done some minute misses which made it extra denser. Also thanks for explaining the gluten/milk powder funda so nicely. Small little things make a lot of difference. I’ll try once again using your tips. 🙂
Hi Monika,
This looks so perfect.. ♥️ Can you please let us know where to get this Yeast you have mentioned above?
Hi Shraddha,
I got the yeast from amazon this time. The brand is BAKE KING (instant dry yeast). Gloripan is available on amazon. I used to buy nature harvest yeast from a local shop.